There are few things in life that are tastier than bacon, unless of course you’re a vegetarian. (Although with pure number of meat flavored non-meat products it makes me think you miss it…) Bacon is also a manly food which makes for a perfect Fathers day addition. These biscuits are simple and quick to make, so let Dad sleep in and then wake him up with a delicious brunch; some eggs, biscuits and OJ, then convince him to fire of the grill so he can show off his skills. It is summer after all.
Maple Bacon Biscuits (adapted from A Cozy Kitchen)
biscuit:
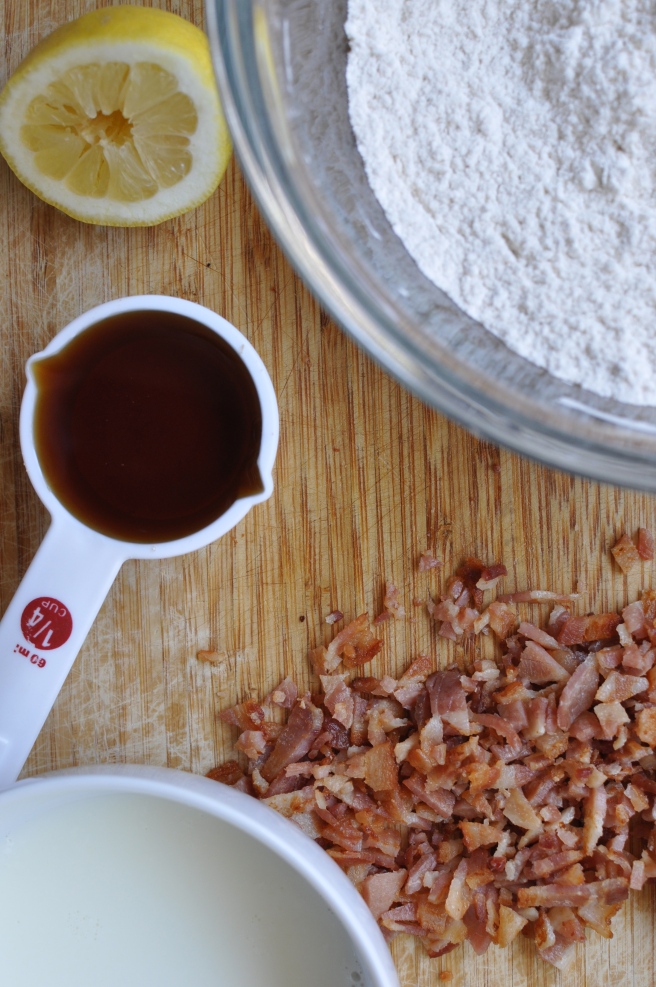
5-6 slices of Bacon
3 1/4 cup all purpose flour, sifted
2 tbsp brown sugar
1 tbsp baking powder
3/4 tsp salt
1 1/2 stick super cold butter, cubed
1/2 cup buttermilk
2 tbsp heavy cream
1 large egg
1/4 cup maple syrup
1 tbsp butter, set aside (this is for when they come out of the oven)
glaze (optional)
1/2 cup powdered sugar
1/2 cup maple syrup
First you’re going to need to cook your bacon up, if you’re making these as a surprise from someone and your kitchen is downwind from where ever they are I recommend doing this before hand and just wrap it in a paper towel and put it in a ziploc bag in the fridge. You can cook your bacon however you like but I recommend stopping when it’s still chewy, it will make for a more suple biscuit. Once you’ve got your bacon diced it up into small little pieces. Set aside.
Take your buttermilk (or if you don’t have any on hand just take regular milk and squeeze a bit of lemon juice in –wahla! buttermilk) and whisk in the egg and heavy cream. Set aside.
In a large bowl take your sifted flour and add in your baking power, brown sugar and salt. Next quickly add your cold butter. Mix in with a your fingers or a pastry cutter until the cubes are now pea sized marbles. If you have naturally warm hands, invest in a pastry cutter. I chill mine before I used it as well just too keep things extra flakey. Quickly add your maple syrup and the milk/cream/egg mixture until just combined.
Dust your counter with flour and roll it out about 1 inch thick. Cut out your biscuits and place them on a parchment lined cookie sheet. For traditional biscuits use a 2 inch circle cutter, or if you don’t have one try a d 1 cup measure or a glass. You don’t have to be fancy here, creative is just a fun. Chill the cut out dough in the freezer while you preheat your over to 450 degrees. (You don’t want to preheat your oven when you’re working with cold butter.)
Bake for 15-20 minutes, until golden brown. When they come out of the oven rub the butter we set aside earlier on the top. You can either enjoy this way or you can whisk up some glaze to pour over. Just whisk the powdered sugar and maple syrup together. Feel free to play with the amounts to taste. Make sure though that it’s not TOO thick. You want it to be pourable.
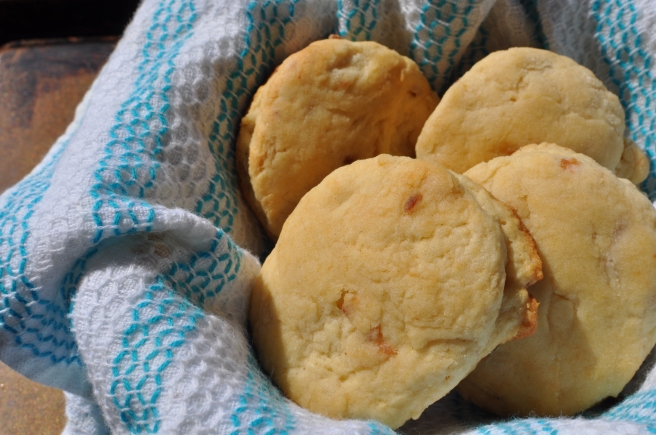
Enjoy.